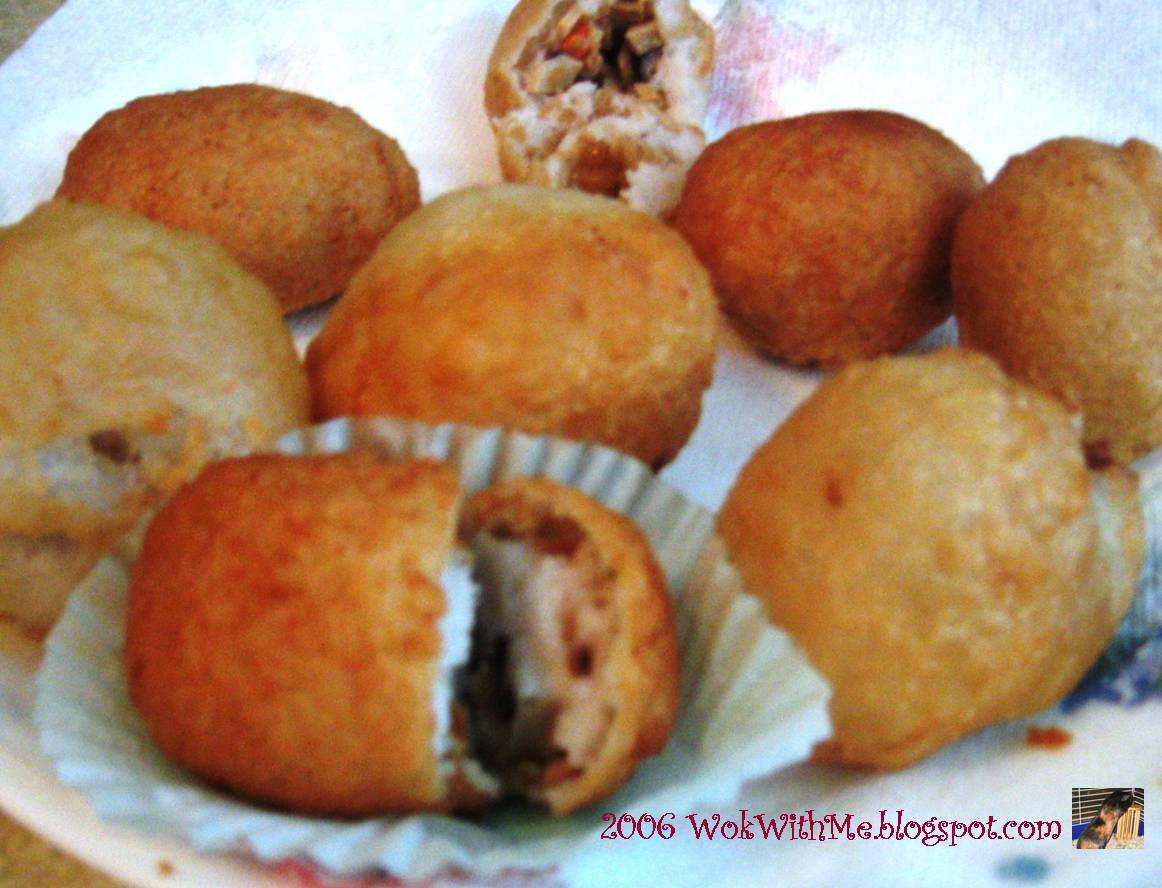
One of my favorite dish to order at any dim sum place is Taro Puffs. The skin is made from mashed taro roots, enclosing tiny bits of pork, shitake mushrooms, and other delicate flavors. When deep fried, the skin expands slightly to create a beehive like texture; a crisp exterior that gently protects the light, fluffy, almost cottony-cream texture of the mashed taros.
Now, with that said, I decided to embark on another deep fry mission to satisfy my ever so greedy taste buds. After reading the successful reviews from many of my blog pals, I decided to try for myself. Again, there are so many recipes out there; some calls for mixing mung beans with the taro, some suggests using boiling water to first cook the wheat starch before mixing in with the taro, others suggests using cornstarch and tap water. Faced with too many choices, I decided to use the one from my trusted Dim Sum book by Ellen Blonder. My only problem....uh oh, I only had a little bit of shortening left (Which I didn't realize until I was done steaming the taro). So I modified the recipe by trying to scale it down, unfortunately my results, although very tasty, was not the end product I had hoped to achieve and left much to be desired.
I won't post the recipe because I probably won't be using this one again, as I am hoping to find a different source to fulfill my taro puff ideals. However, here are the some pictures that I took for your enjoyment!
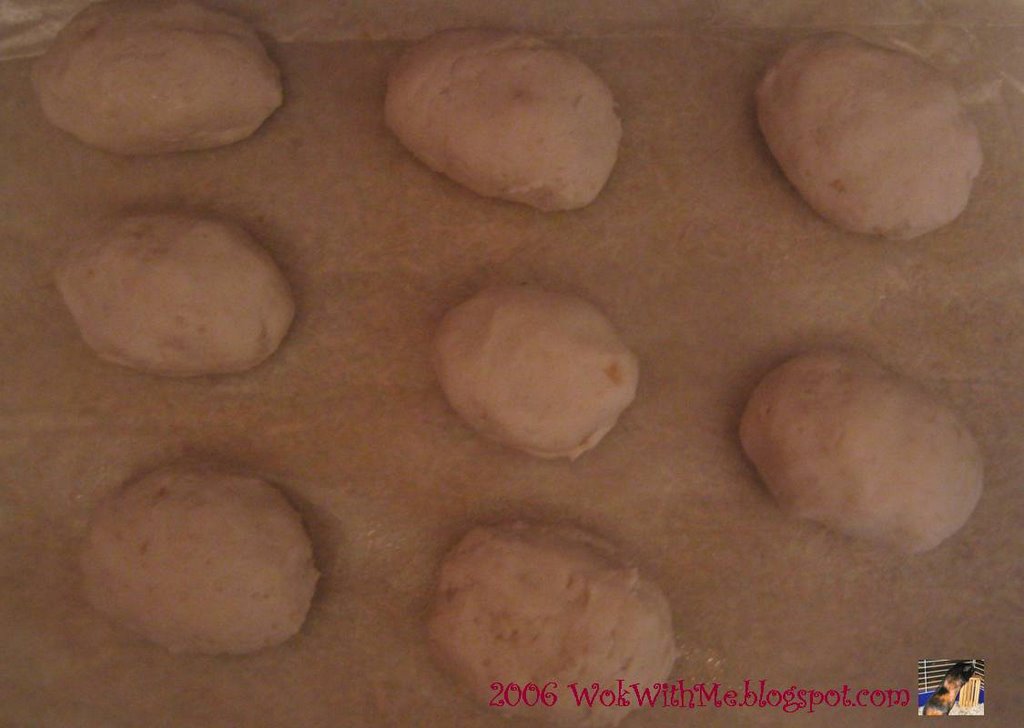
Taro puffs ready to be fried up! They look like cut little rocks!
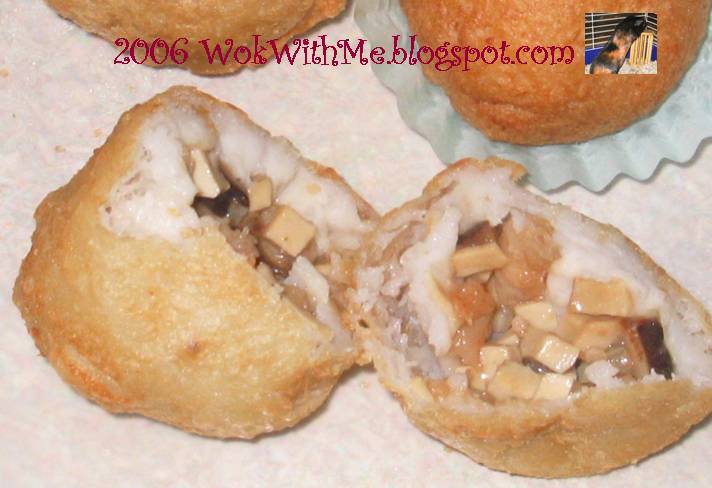
Finished and ready to be eaten. Notice how the skin isn't as flaky and beehive-ish as those served in restaurants? Argh!

I would love to hear your suggestions on how to improve this. My gut feeling is that I need to increase the shortening. I also used those baby taro that are about 8 cm long instead of the big ones just because I couldn't find the big ones. Maybe next time I'll use the big ones and see if they work better. In the meantime, I'll finish eating these because looks aside, these are still rather delicious!
9 comments:
oh my, your taro puffs look really good diddy! reminds me of the ones i had in dim sum restaurants :p
you've been baking alot lately, which is a good thing! they all look so yum~
thanks Evan! I still need to improve but at least I'm learning!
That looks yummy. Anyway, a warm welcome to the world of foodblogging. All the best to u.
thanks puspha! Food blogging is addictive!
Diddy you are right, blog is pretty addictive but you get the joy in doing so. Keep it up.
yam cooks in whatever ways is my fav food, but sadly, I'm the only one in the family who enjoy eating it. So never cooked before at home.
You did the taro puffs so well.
Keep up your good works.
diddy
i too have tried many recipes and i too noticed that shortening is one of the main factor. Deep frying with alot, alot of oil and do not crowd as the puffs need space to create the beehive. Ammonia bicarbonate is needed too.
Hi Lilyng!
I've noticed that you use ammonium bicarbonate in your recipe. I didn't have any so I substitued with baking powder...maybe that's why mine didn't have that texture? I will have to buy that online since local stores do not have it. Guess I will have to wait before experimenting with this
Peony,
I wish you were my neighbor! We could have a yam party!
Hi Diddy, just dropping by to say hello. Actually the temperature of the oil is quite important too for frying taro puff. Should try to keep it at abt 190C if possible.
Post a Comment