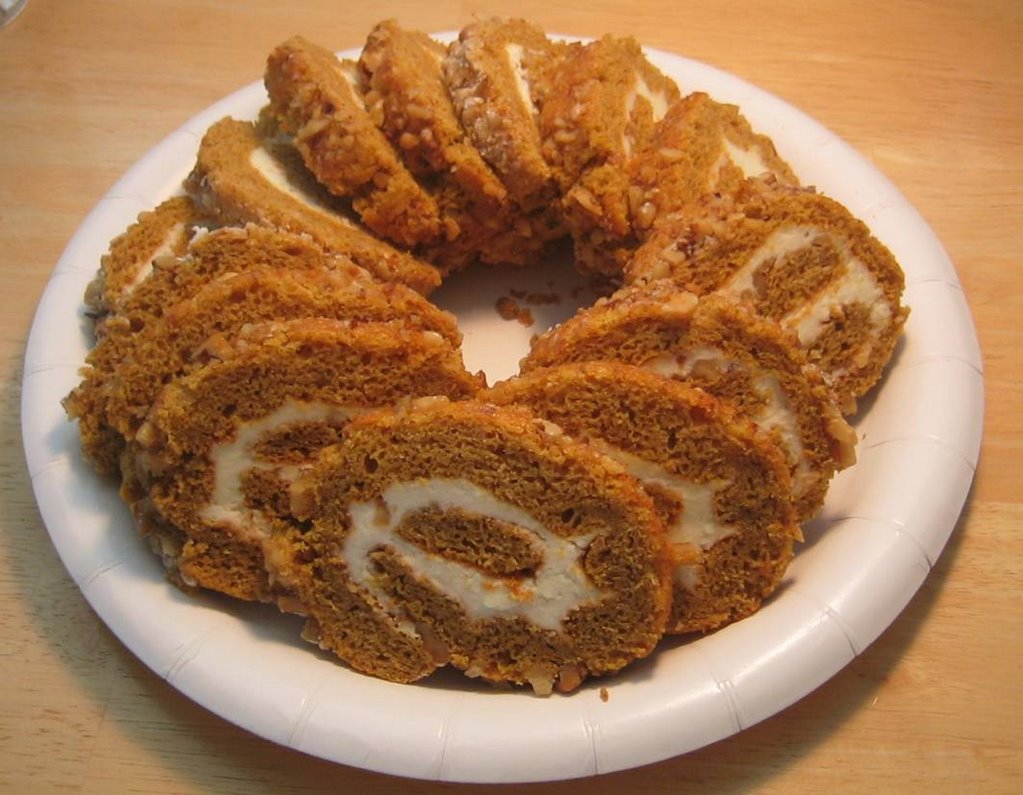
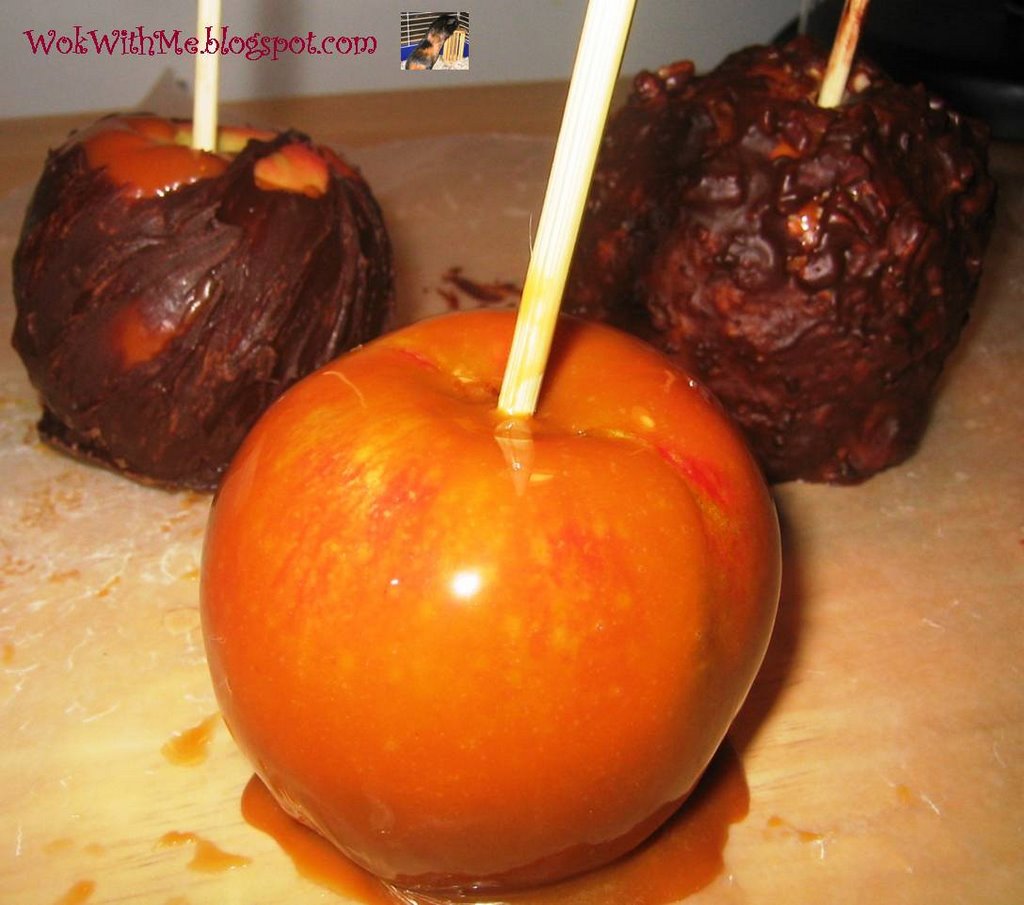
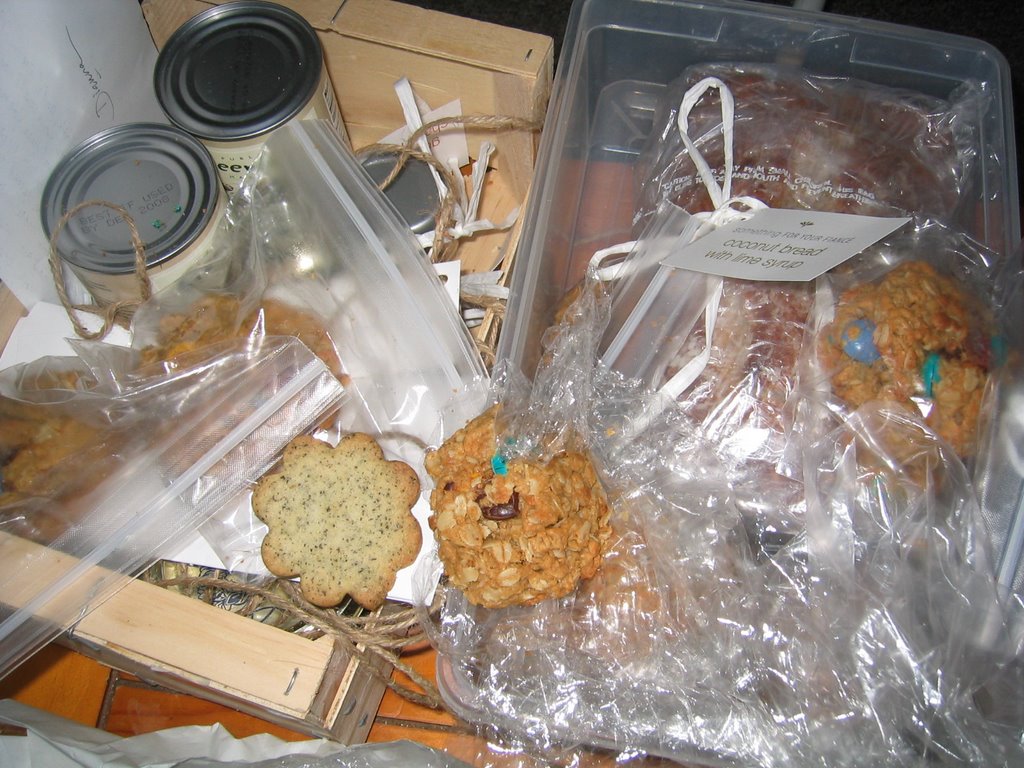
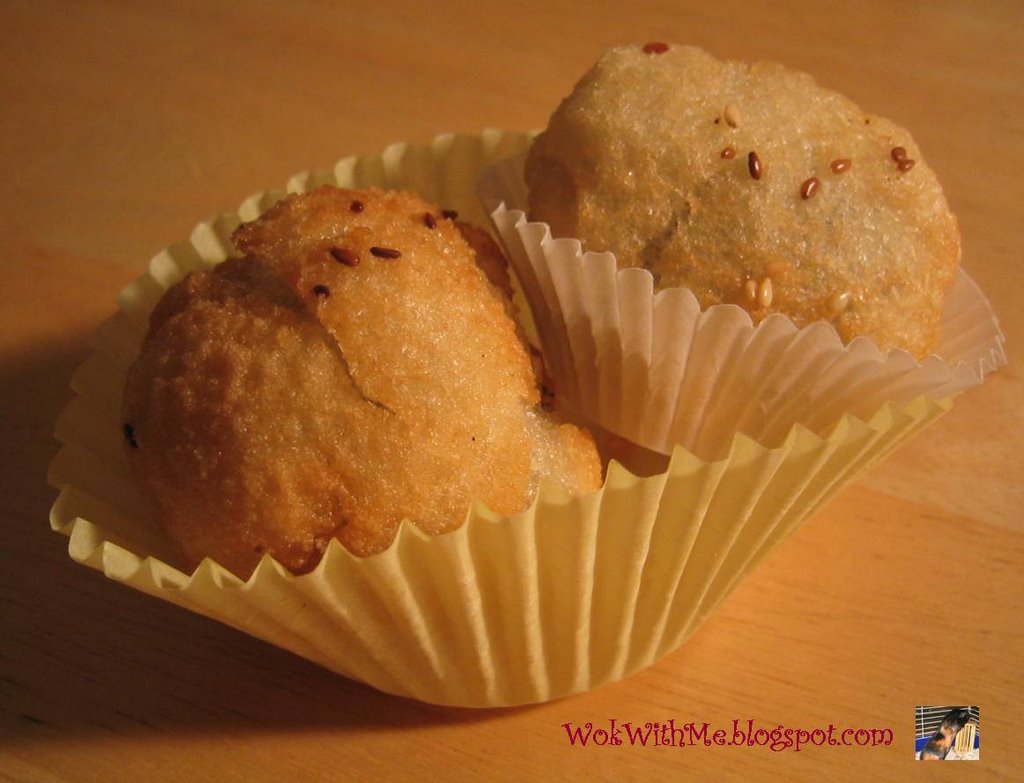
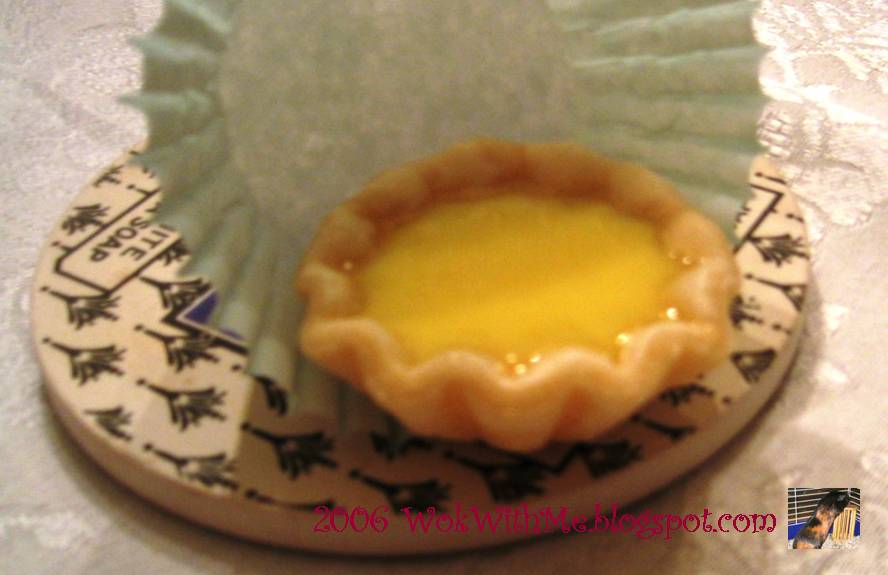
I'm so excited to participate in my first Blogging By Mail, hosted by Stephanie. There were so many wonderful desserts I wanted to bake for my Blog Pal over at ourfullhouse.blogspot.com, however, I had to decide which one would ship well. Unfortunately this meant that I couldn't bake some of my favorites to share, such as lemon bars, pies, cheesecakes, and custards. I also didn't want to get too adventurous with my creations as I sometimes do when I get too overly ambitious, so I settled for some tried and true goodies that I hoped will ship well!
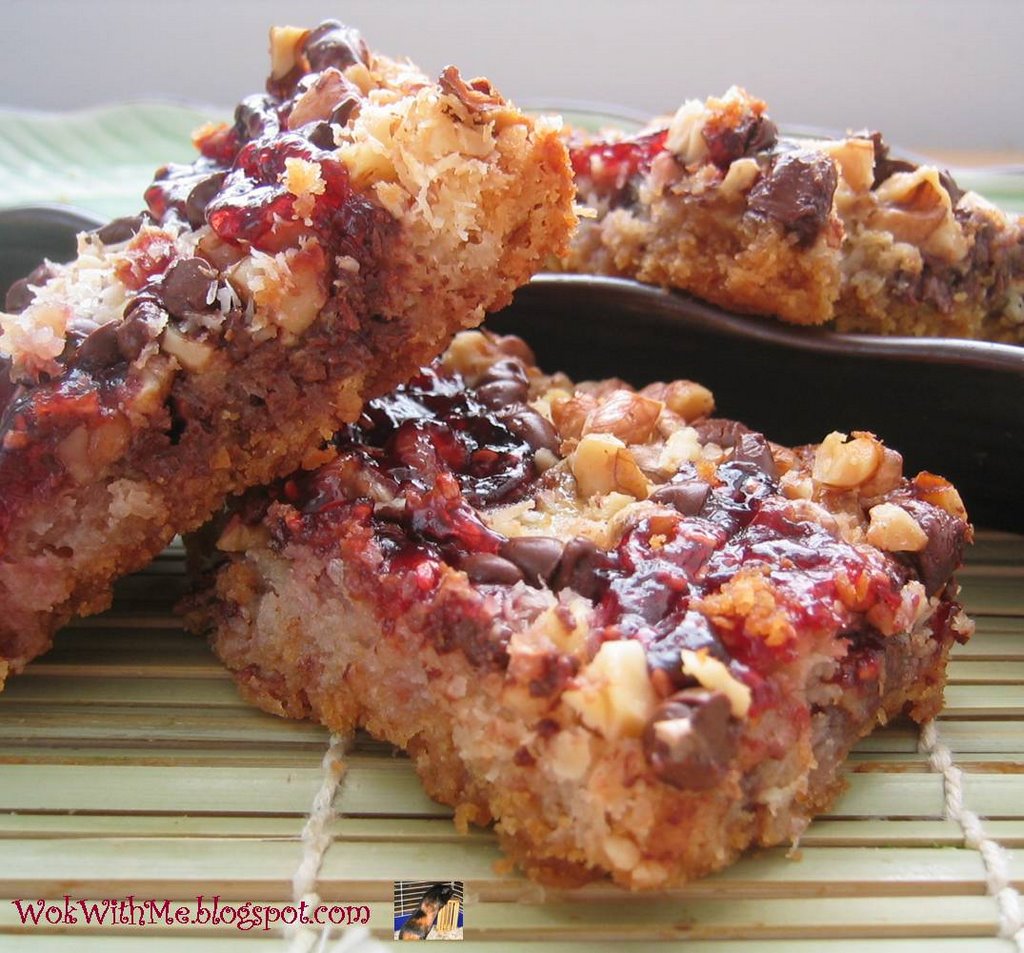
Magic Bars

I'm not even sure where I got the original recipe for these decadent cookie bars because I've been making these for ages. I think I might've gotten it from the back of a can of sweetened condensed milk at one point. Anyway, these are very simple to make and tastes really addictingly good! A generally add more than one type of nuts since I'm a huge nut fan, but the recipe is quite versatile so don't feel confined to exactly what's listed!
Magic Bars
Ingredients:
1/2 cup butter
2 cups graham cracker, crushed
1 can sweetened condensed milk (14 oz)
2 cup chocolate chips
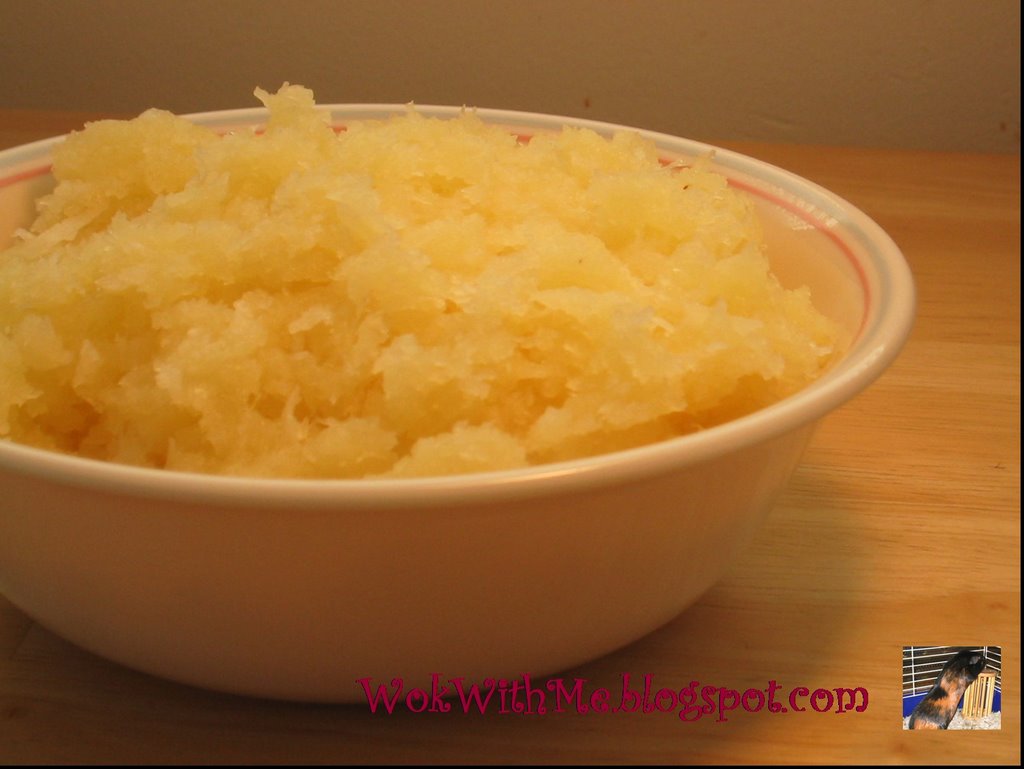
1 cup dessicated coconut
1 cup chopped walnuts
1/2 cup jam any flavor
Direction:
1. Preheat oven to 350 F and place pan in oven. Melt butter in the pan, and sprinkle cracker crumbs into pan.
2. Spread on the milk, and sprinkle on the remaining ingredients except for the jam. Press lightly so ingredients adhere to the base
3. Microwave the jam until liquidified (about 45 seconds). Drizzle over the mixture
4 Bake for 30 minutes and cool completely before cutting
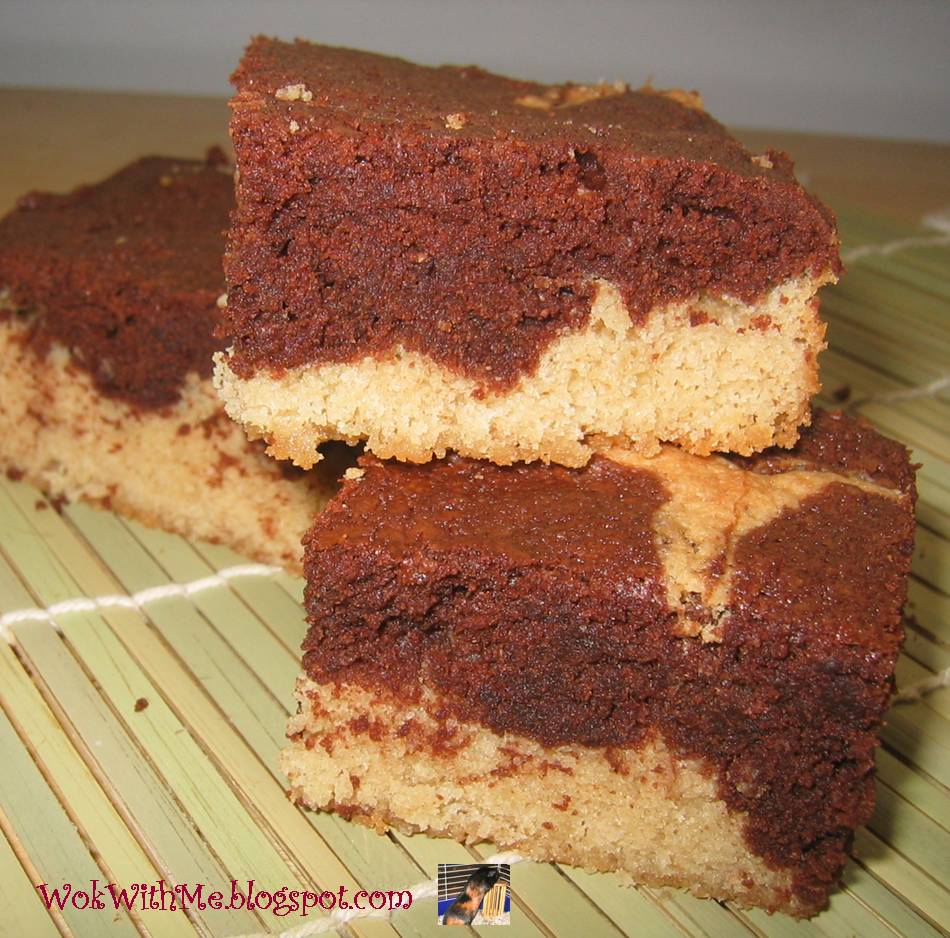
Next,
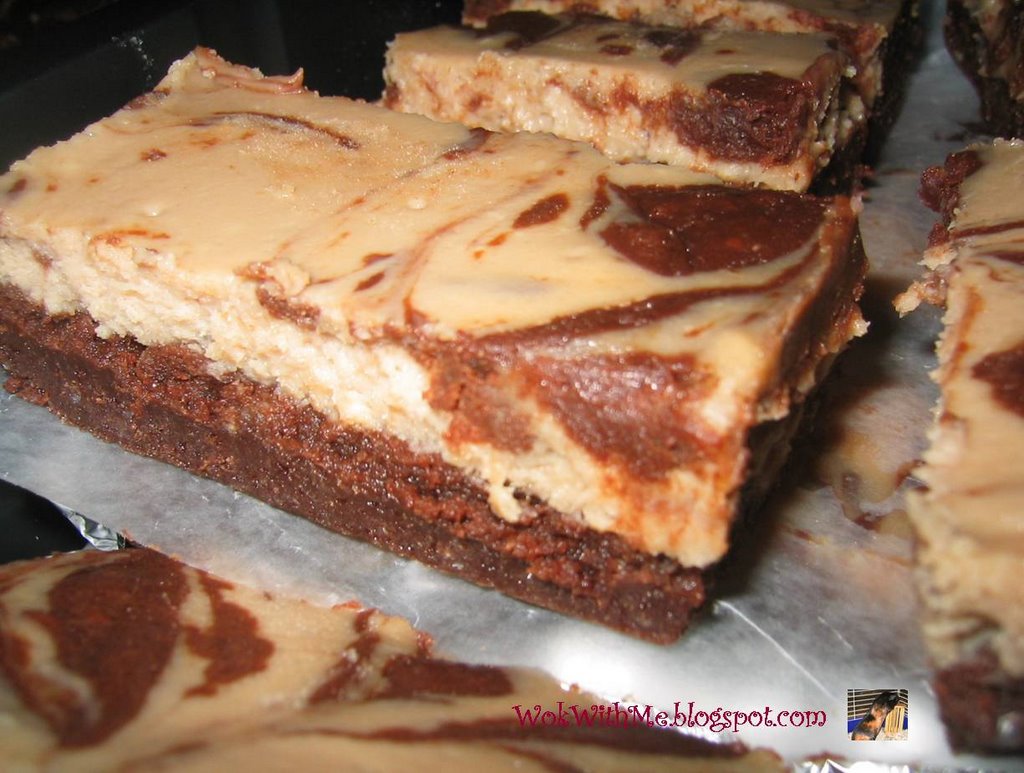
Marbled Brownies:

Recipe for Marbled Brownies
Ingredients:
1 cup unsalted butter
1.75 cups sugar
1/2 cup brown sugar
4 eggs
1 tsp vanilla
1.25 cup flour
1/2 tsp salt
4 ounces unsweetened chocolate
Directions:
1. Line a 9 by 13 inch pan with foil. Preheat oven to 350 F
2. Cream butter until soft. Add sugar, eggs and vanilla. Still in flour and salt
3. Microwave the chocolate until melted.
4. Pour half of the mixture in step 2 in the pan. Mix the melted chocolate with the remaining matter and spoon over the white mixture. Use a fork to create a marbelized effect.
5. Bake for 25-30 minutes and stick in freezer immediately afterwards. Slice when cooled
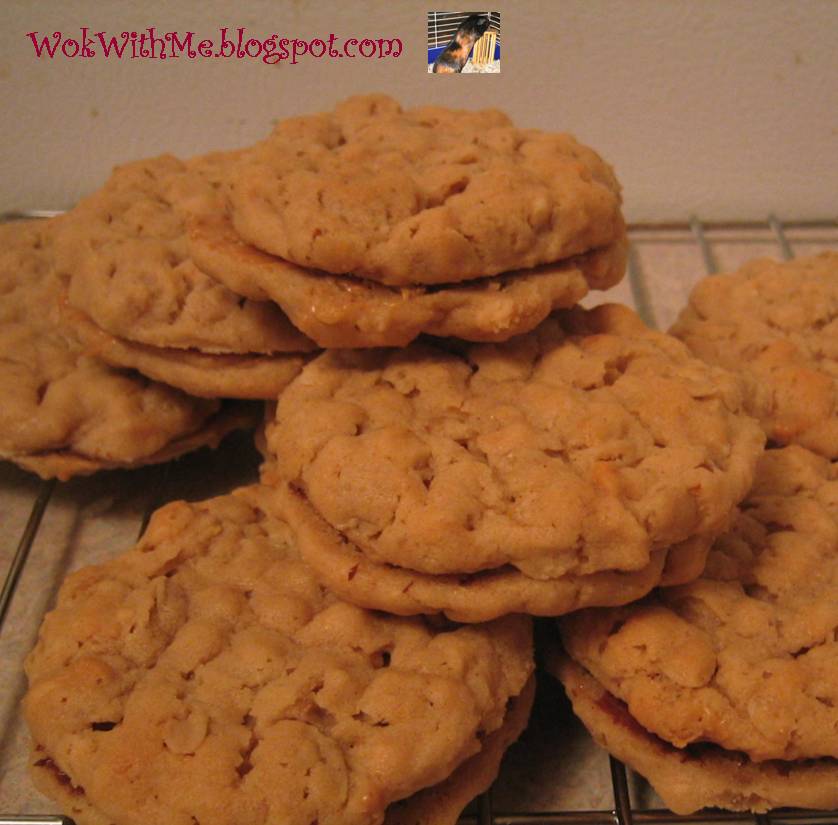
Last up,
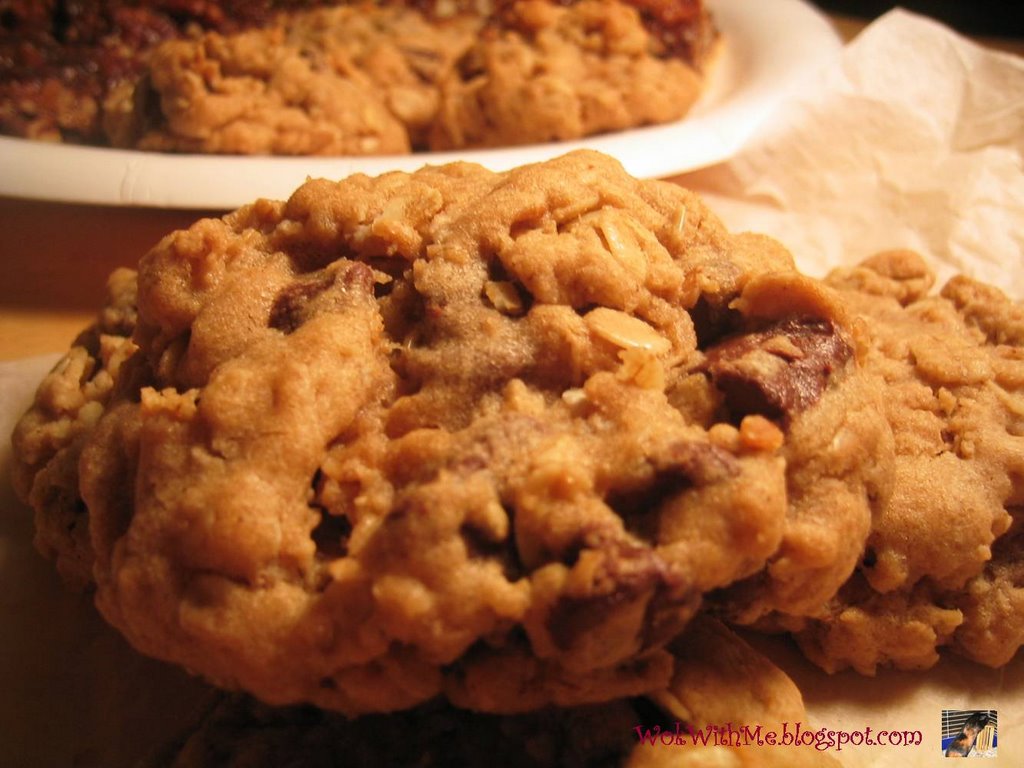
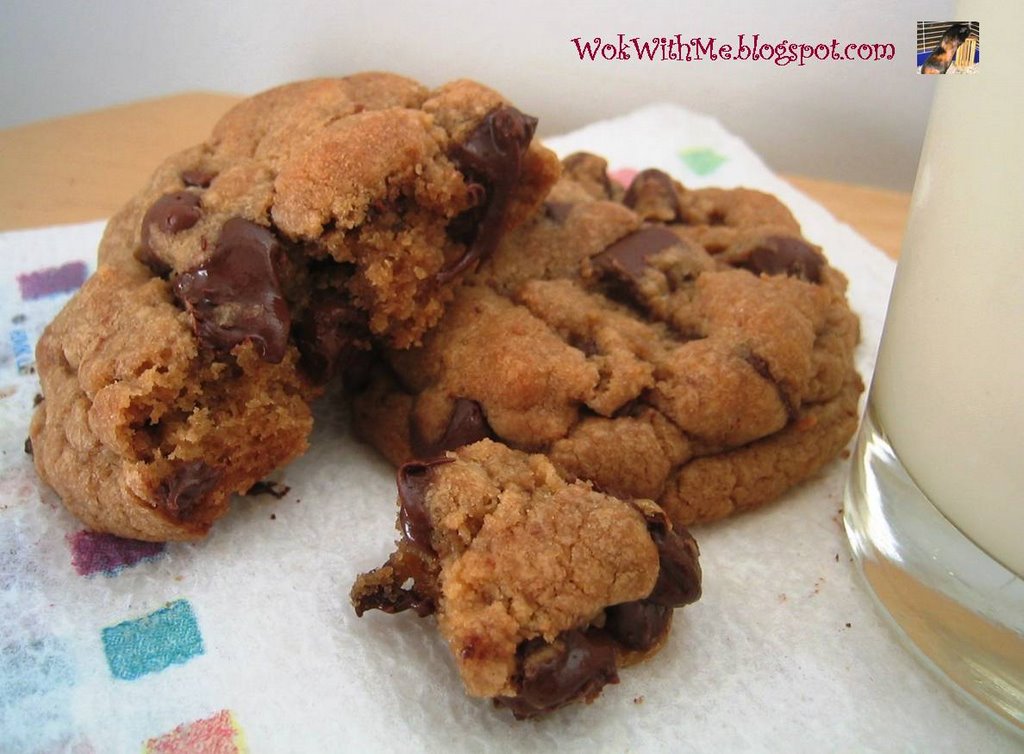
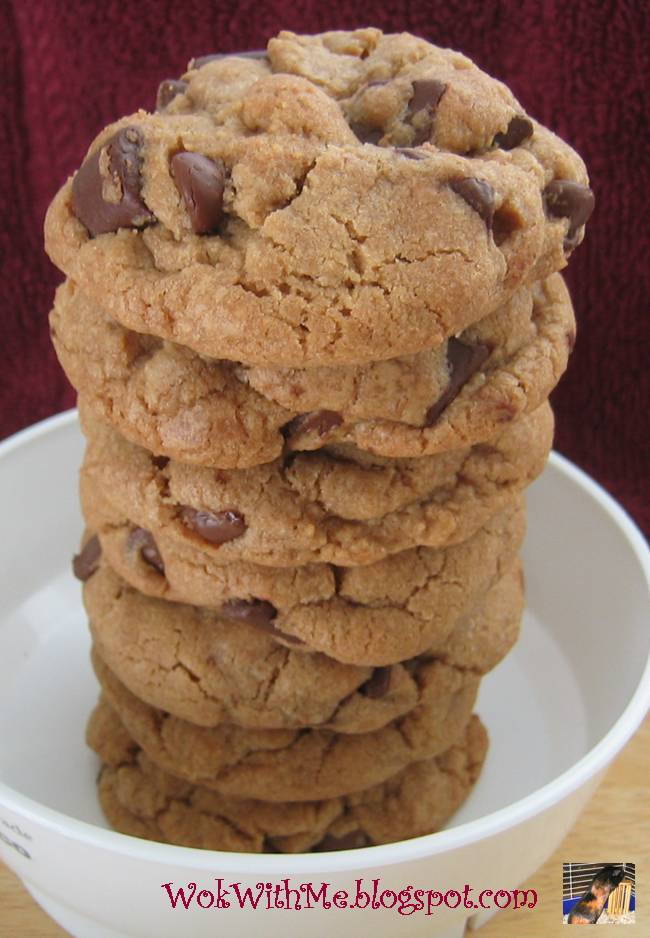
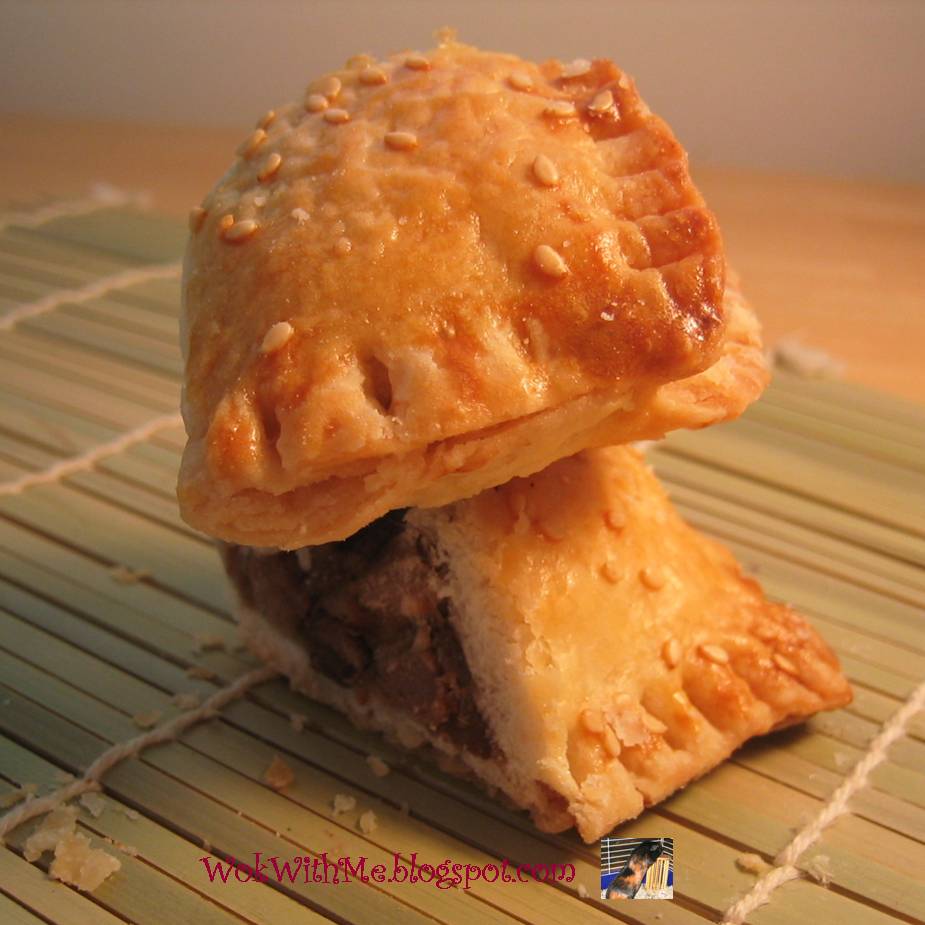
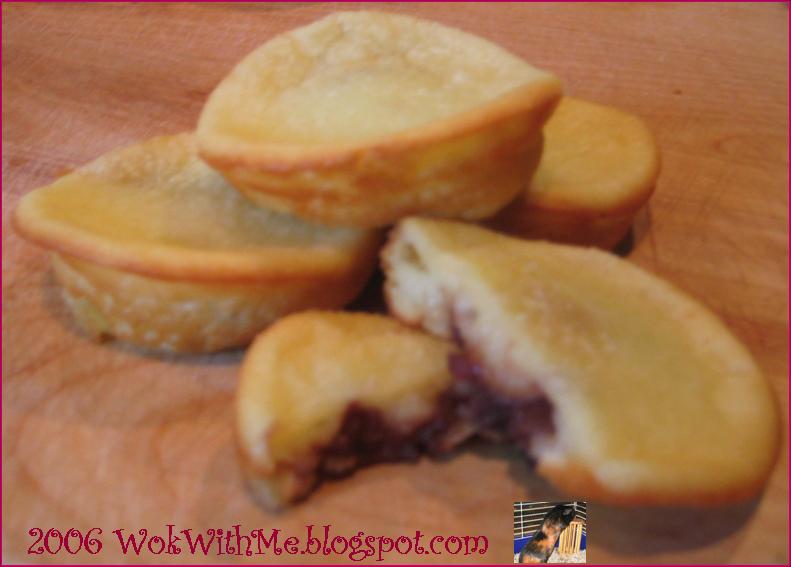
Peanut Butter Oatmeal cookie sandwhiches with Nutella Filling:

This cookie combines almost all of my food-love interest into one incredible bite: the crunchiness of the peanuts, the extra body of the oatmeal, and the sweet and creamy chocolate flavor of the nutella.
Recipe:
Ingredients:
3/4 cup flour
1/2 tsp baking soda
1/2 tsp baking powder
1/2 tsp salt
1/2 cup butter
1/2 cup peanut butter
1/2 cup sugar
1/2 cup light brown sugar
1 egg
1 tsp vanilla
1 cup oats
1/4 cup nutella
Directions:
1. Cream together the butter, peanut butter, sugar and vanilla. Mix in the egg
2. Combine the flour, baking soda, baking powder and salt in a separate bowl. Add to the mixture 1 and stir in oatmeal
3. Preheat the oven to 350 F. Line a baking sheet with parchment paper, and with slightly wet hands, roll a piece of dough into a round shape. Use the back of a fork to make a criss cross pattern. You should get around 26-32 cookies, depending on how big you want your "sandwhiches"
4. Bake for 10 minutes. Remove and cool on a cooling rack. Once cooled, spread nutella on the back of the cookies and sandwhich them together.